Astro Sketching the Universe!
Astronomy is a hobby, although I do volunteer work as a star guide at the local observatory for various groups of visitors. I’m particularly interested in the history of astronomy (perhaps going well with my love of the now rather anachronistic way of recording my observations). In addition, I have a modest collection of meteorites and space art by Jon Lomberg (illustrator of most of Carl Sagan’s books and for Cosmos series).
I got hooked by watching Carl Sagan’s Cosmos, which kindled a life-long passion for astronomy. I truly got into it around year 2001 after reading a very successful popular astronomy book by the Finnish astronomer, Esko Valtaoja. The book, At home in the universe, got the prestigious Finlandia award for non-fiction books in 2002.
After that, I joined the local astronomy club in Tampere, Finland, ending up also heading that club for about six years from 2005 onwards.
I got my first telescope in 2002 after careful study of different models, and I decided upon a C8 SCT with goto functionality. Since then I’ve purchased the Tele Vue-85 (and several Tele Vue eyepieces) and consider this my best scope — it also gets the most use (the only issue with my C8 SCT is that it really doesn’t travel well so I needed a more compact travel scope). I have a hydrogen-alpha solar telescope, as well as a Calcium-K solar telescope.
In 2004 I noted the ads by Swinburne Astronomy Online in Sky & Telescope, and enrolled in their Masters program in early 2005. I graduated in 2010 – the graduation ceremony being the only time I visited the university campus in Melbourne. I got many good friends through those online courses from all over the world.
the experience of making a sketch of what
is seen in the eyepiece is a much more
intimate experience, and a closer connection
to the cosmos
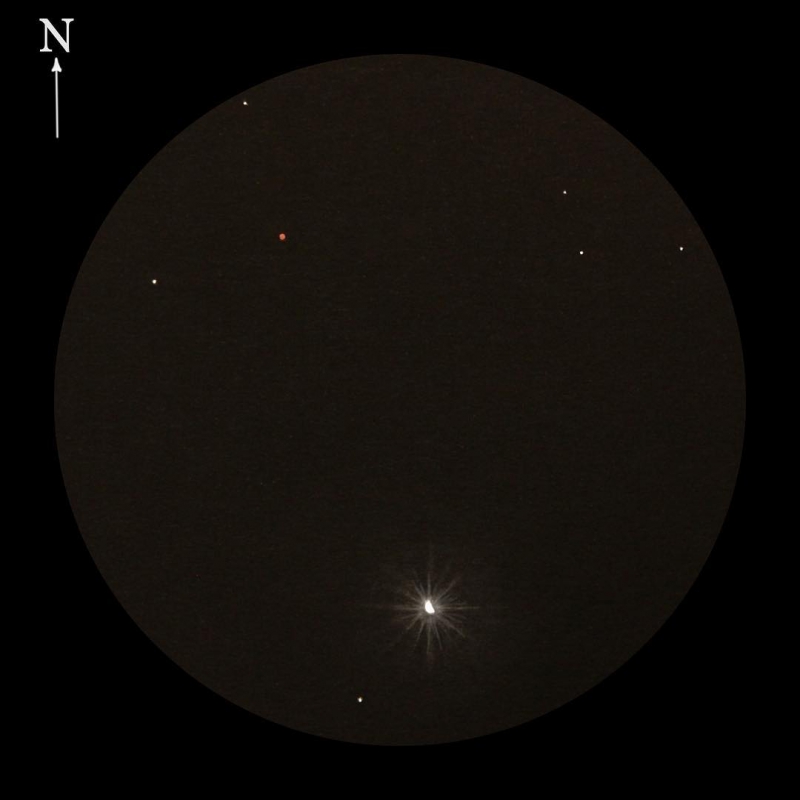
I dabbled in astrophotography a little bit some 10-years ago, but found that hard and cumbersome. Our club has rather enthusiastic astrophotographers with fully automated and remote controlled equipment up on the roof, while they sit inside on a clear night. I believe one misses out on the majestic universe by doing that, and I think that the experience of making a sketch of what is seen in the eyepiece is a much more intimate experience, and a closer connection to the cosmos. In addition, by sketching one also trains the eye to see and appreciate more details.
I have no formal art training; my earlier MSc is in engineering and industrial economics. The astronomy MSc on top of that is also purely for pleasure of finding things out!
I am greatly inspired by Jon Lomberg‘s space art, although it is generally more photo-realistic than views through an eyepiece. Jon’s technique of painting globular clusters has been helpful in sketching these objects — he visited the Tampere observatory in 2016 and held a workshop on painting globulars. That’s about the only actual hands-on art training I have got!
I’ve always admired Stephen James O’Meara’s beautiful books of Messier and Caldwell objects, as well as his later books on hidden deep sky treasures and southern sky gems. These books include sketches made with only a slightly bigger Tele Vue refractor [4″ Tele Vue Genesis] than what I’ve used since I purchased it during a work trip to California in 2004 . My friend Deirdre Kelleghan in Ireland has successfully combined art and astronomy, and she has shared some beautiful sketches in Facebook — these inspired me to try, too. I’ve also poured over a few specialist books on the subject, Astronomical Sketching, Solar Sketching, and Sketching the Moon. Incidentally, Deirdre is a co-author on the lunar sketching book.
I love the sheer wow of the
“spaceship window view” of 13mm Ethos
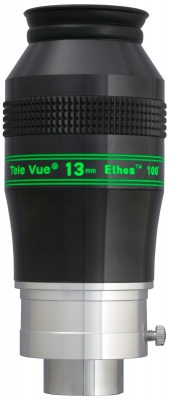
The 26mm Nagler on Tele Vue-85 gives the largest true field of view (I have), great for finding targets and also very nice for wide open clusters (or the solar corona during the totality). I love the sheer wow of the “spaceship window view” of 13mm Ethos, and, of course, it gives a higher magnification and a bit darker background sky (but still a large true field of view). The Ethos is my favorite eyepiece for pure viewing pleasure, but I do prefer Naglers’ slightly narrower apparent field of view for sketching. With the 13mm (Ethos), there seems to be no end to stars that one can see (and must also sketch)! Usually when I go out with Tele Vue-85 and without paper and pencils, I put on the 13mm Ethos.
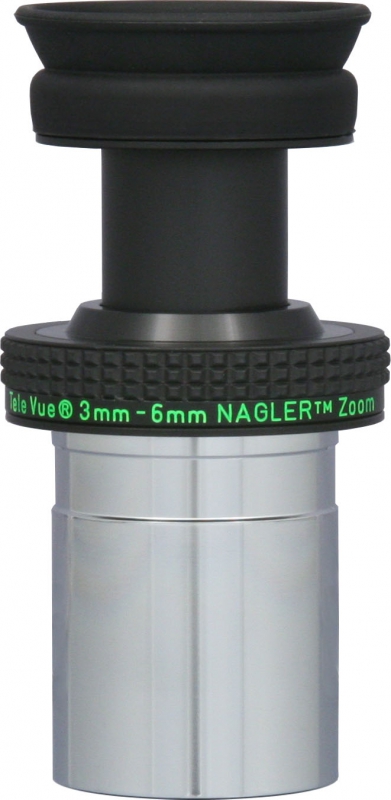
For planetary views, it’s hard to beat the 3-6mm Nagler zoom on Tele Vue-85 . No need to switch eyepieces, and you can crank up the magnification from 100x to 200x depending on seeing. Definitely my favorite for Jupiter and Saturn, as well as smaller planetary nebulae.

The astronomy club observatory has a 41mm Panoptic, which over there gives the largest field of view. The main instrument, 11″ Schmidt-Cassegrain, has rather long focal length, hence I like the 41mm which yields the smallest possible magnification and the largest field of view. The club also has 16mm and 9mm Nagler eyepieces, which do give higher magnification but, seeing being not very good in winter, which can only be used quite seldom. I have personally also a 7mm Nagler, which I sometimes prefer over 3-6mm zoom if I need a larger field of view.
If there are really many stars, it helps
to defocus the scope just a little.
One needs very little to start, just a sketch book, pencils of various hardness (H, HB, B, & 2B), a good eraser, and some blending stumps (or soft tissue paper works in a pinch). A red flashlight is good to have when working at the eyepiece in the dark. Kneadable art eraser is also a great tool to reduce the intensity of nebulous elements in the sketch. An eraser shield may also be sometimes handy to protect the rest of the sketch while getting rid of a small error. Naturally, something to sharpen the pencils is also needed — preferably a blade, or even some fine grit sandpaper.
I start with a round area representing the field of view of the eyepiece, denoted by a circle drawn on my sketch. I first determine the cardinal directions — stop any tracking you have in your mount, and stars will move westward. In addition to north direction, I write down the target I’m observing plus the equipment I’m using.
The first things to be added are the brightest stars; it helps if one imagines a clock face onto the field of view; by going e.g. clockwise from 12 o’clock, the bright stars are added to the sketch. There are various ways to do this — e.g. focus on outer rim first and go around the field of view, then move inwards and do another round — or take a sector and move from center outwards. Whichever works, as long as one is systematic. If there are really many stars, it helps to defocus the scope just a little. By trying to imagine stars forming various geometrical shapes it is easier to mark the relative positions of stars.
Brighter stars are marked with bigger dots — one should be conservative initially, however; it is easier to make a dot bolder later, but much harder to make a bold dot smaller. Use a soft pencil first to mark the brightest stars (and darkest dots), then a harder pencil to mark fainter stars. I make a note of any distinctive stellar colors. For nebular bits in the field of view, be it a true nebula, a galaxy, or some unresolved stars, I take a very soft graphite pencil and spread some graphite on another piece of paper. I pick some graphite up with a blending stump, and then blend it carefully into the sketch as appropriate. If I get in too much, the kneadable eraser can be used to lighten the nebulous area. Depending on the target it may also be easier to do the nebulous areas first, and add stars into the sketch afterwards.
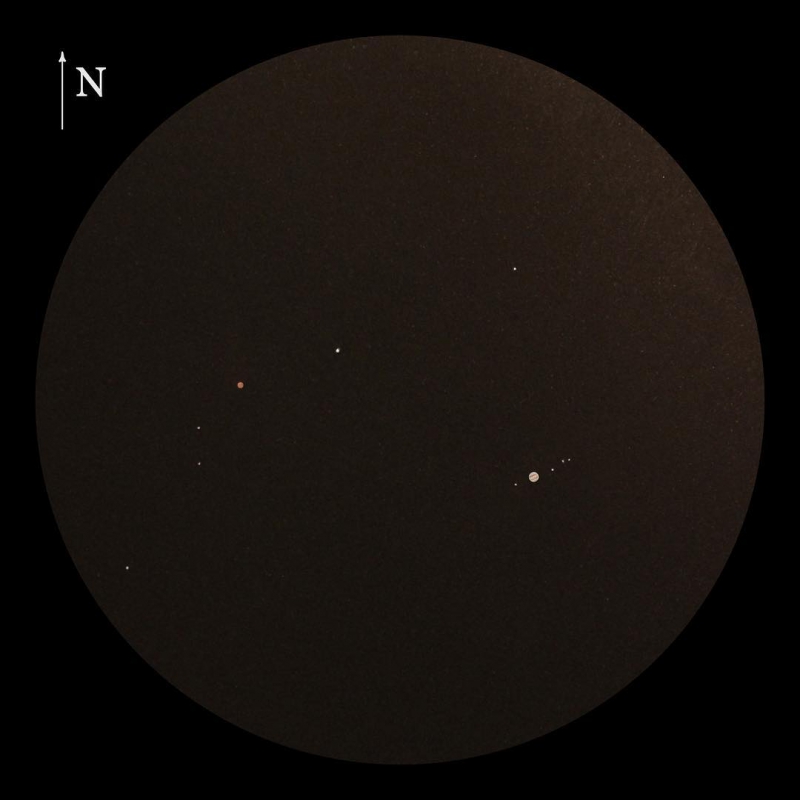
I seldom get a finished masterpiece at the eyepiece
Some specific things to note with lunar sketching is to keep the sketch reasonably small to allow for fast sketching — lighting conditions change quickly so one needs to be hasty. I usually focus on the target crater (or other feature) only, and do not sketch the entire field of view. With stark shadows the use of charcoal pencils or a black color pencil allows very black shadows. Blending stump is also a great tool in lunar sketches.
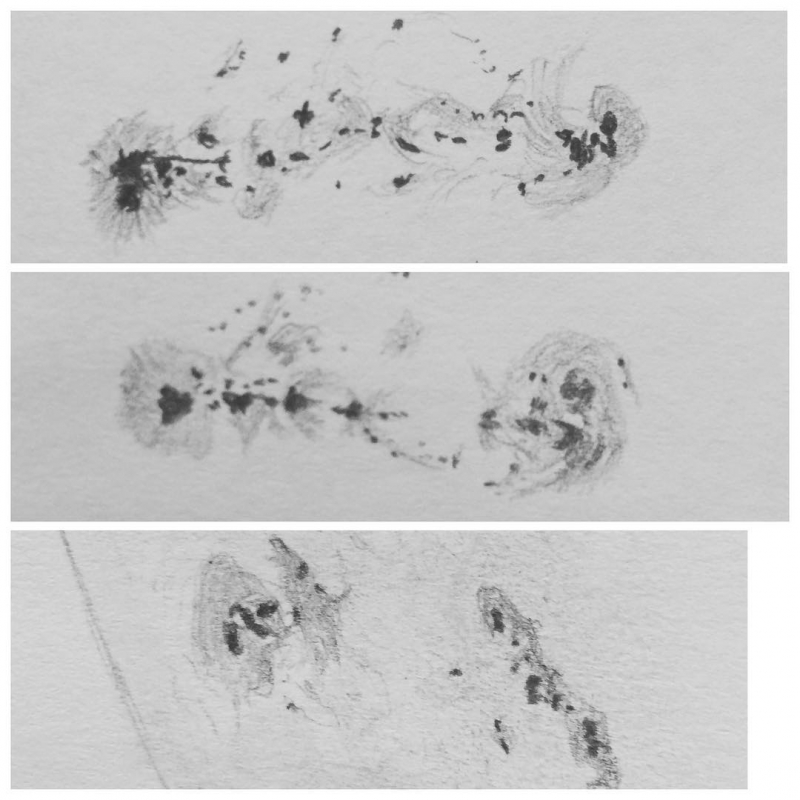
After finishing the sketch I note the time of completion. Now, I seldom get a finished masterpiece at the eyepiece; rather, if I intend to publish a sketch I usually take time to make a final clean copy without e.g. notes of stellar colors, and with more rounded stars. This final drawing gets a coat of spray fixative, and I scan it to a computer. I usually invert the image to get something closely approximating the view in the eyepiece. At this time it is possible to add stellar colors in Photoshop. Lately, however, I have also used black sketching paper and white and color pencils to get a positive image right away. I’ve noticed this works particularly well for solar sketches.
#RPTVO
Assorted Sketches
- The Pleiades (M45). 2015 sketch through Ikharos 102mm ED refractor with Tele Vue 41mm Panoptic eyepiece.
- Theta Carinae Cluster. Also known as the “Southern Pleiades” (IC 2602 or Caldwell 102), the image here captures the blue nebulosity around the bright stars. Sketched with Tele Vue-85 + 26mm Nagler from Melbourne, Australia in 2010.
- Alpha Centauri A/B & Proxima Centauri. Alpha is at upper left and Proxima at lower right. Sketched with Tele Vue-85 + 26mm Nagler from Melbourne, Australia in 2010.
- Jewel Box Cluster. (Also known as: NGC 4755 / Caldwell 94). Sketched with Tele Vue-85 + 3-6mm Nagler Zoom (at 5mm) from Melbourne, Australia in 2010.
- Comet Lovejoy. (C/2014 Q2) from January 20, 2015. C11 telescope with 41mm Panoptic eyepiece.
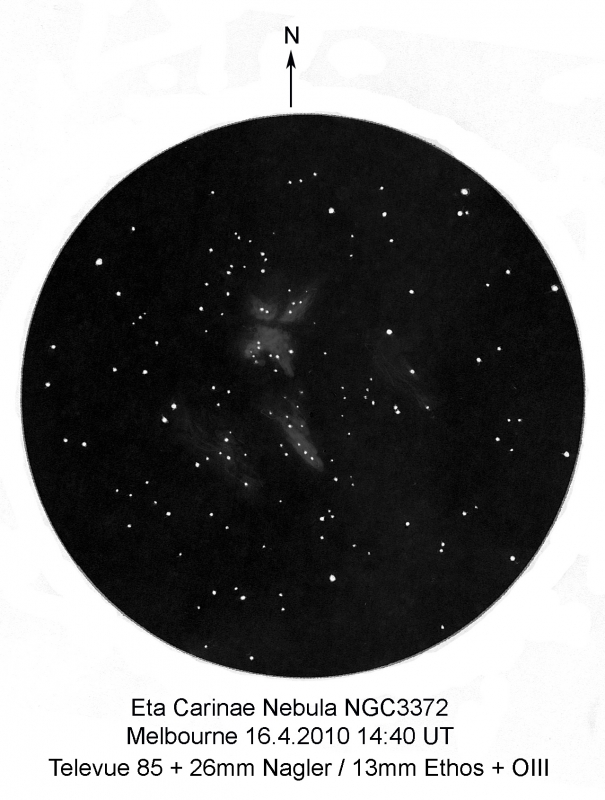
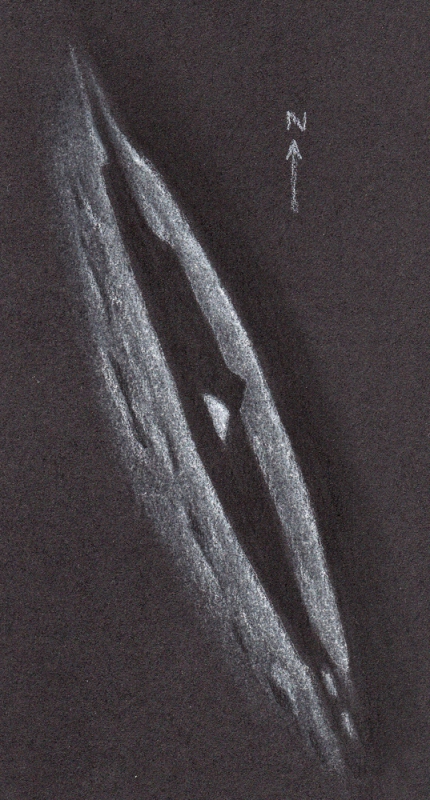
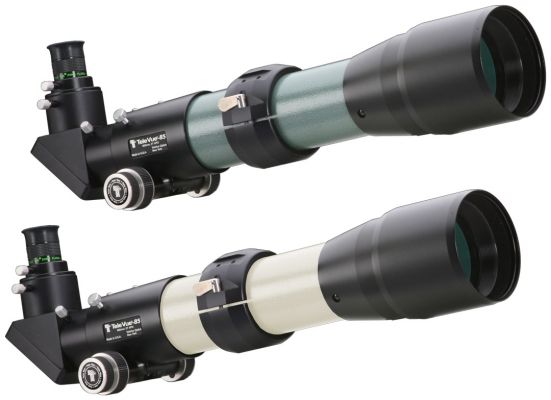
- Tele Vue telescopes on our website (mobile version)
- Tele Vue eyepieces on our website (mobile version)
- Blog post: The Art of Deepsky Sketching at the Eyepiece
- Moon sketching blog post: Return to the Moon with Michel Deconinck
- More Moon sketching: The Art of Sketching the Moon at the Eyepiece
Did you observe, sketch, or image with Tele Vue gear? We’ll like your social media post on that if you tag it #televue and the gear used. Example:
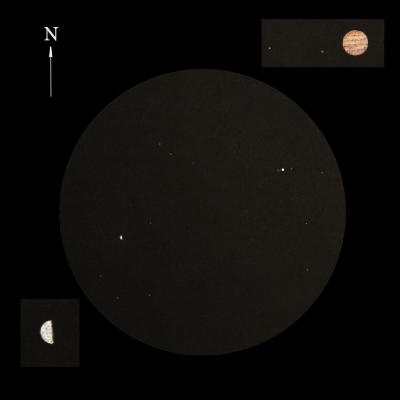
#televue #tv85 #ethos #jupiter
Do you want your Tele Vue images re-posted on Tele Vue Optics’ Social Media accounts? Use this hashtag for consideration:
#RPTVO


